Creating A Glossy Button
Step 1:
Start by creating a new canvas (File >> New)
Make the canvas 300 by 300 pixels.
Make sure resolution is set to 72, mode is on RBG Color, and contents is set to white.

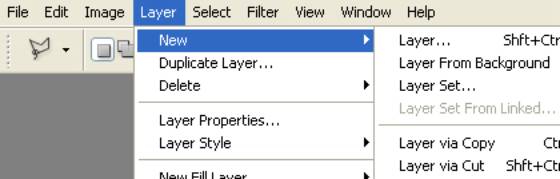
Step 2:
Create a new layer. (Layer >> New Layer)

Select the Elleptical Marquee Tool (Top left of toolbar)

Now click, hold shift and drag to make a perfect circle in the center of your canvas. (Size does not matter)

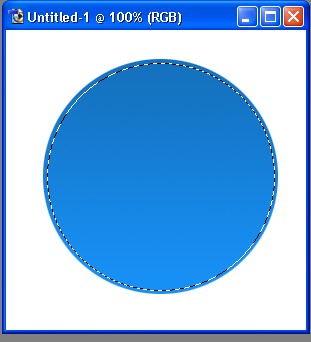
Step 3:
Now select the gradient tool.

Click, hold shift, and drag downwards inside the circle.

Your circle should now be filled with whichever colors you set your gradient to.

Step 4:
Next, draw another circle with the Elleptical Marquee tool slightly smaller than the first one.
Now insert a new layer. (Layer >> New Layer)

Fill this circle with white.
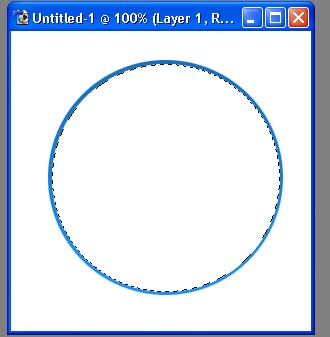
Move your new circle inside the exact middle of your first circle.
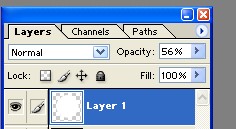
Step 5:
Adjust the opacity of this circle to about 56%

Now draw another circle with the Elleptical Marquee tool roughly the same size of your last one.
Place this circle on top of the last one you just made and hit the down arrow 1 or 2 times.

Now hit delete.
You should now have a beveled look to your button.

Step 6:
Now create a new layer.
Now we need to create another circle. So click the Elleptical Marquee tool and create a circle slightly smaller than the first one.

Now fill it with white.
Adjust the opacity to 15%.
Create one last circle with the marquee tool. Make it sorta like an oval (horizontally) and move it 3/4ths the way down the circle you just made.

Hit delete.
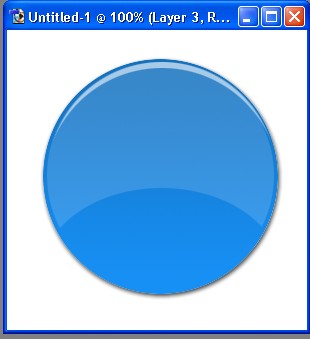
Your button should now look somthing like this:

Step 7:
Alright, now to add one last touch to our button. Click on the layer with the first circle. (One with the gradient) And apply a drop shadow. (Layer >> Layer Style >> Drop Shadow)

Feel free to play around with the drop shadow settings.
Your button should now look somthing like this:
Step 8:
Add some text. I used verdana, bold, and white.

Now click and drag a box on your button.

Now type a word or two.

Now apply a 1 pixel stroke. I used a dark blue.
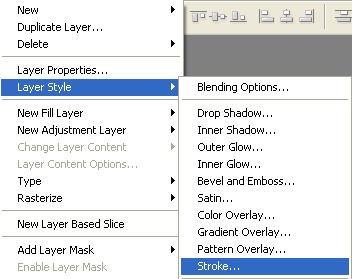

Hit ok, and were DONE!
My final result looked like this:
